 |
 |
 |
 |
 |
 |

BUILDING A PRINTED CIRCUIT BOARD
Printed circuit boards are widely used on simulated cockpits. Using them is easier to connect components to control boards.
The easiest and more professional way to build them is using a CAD software like Eagle or Altium, generate the gerber files and then send these files to any manufacturers on the web. There are many of them like:
- www.kikipcb.com (this company ships using courier or standard registered mailm which is cheaper).
- www.pcbcart.com
- www.pcbwin.com
- www.pcbway.com
Normally, the minimum quantity to order is 5 pieces.
But if you don't want or don't know to design circuits, you can try the homemade option.
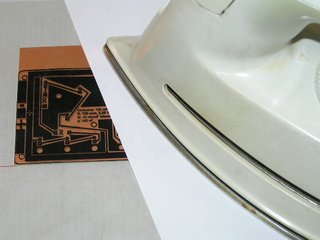
We start designing a PCB with any specific software or design software (I've used Corel Draw). Then we print the file on a transparent film (the one used for presentation). I using a standard laser printer. With an iron, we transfer the ink from the transparent film to the copper board (don't forget to put a newspaper below to protect the table you use).


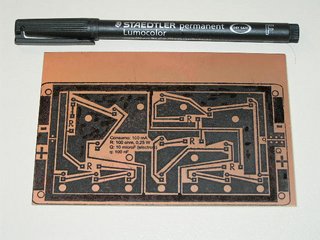
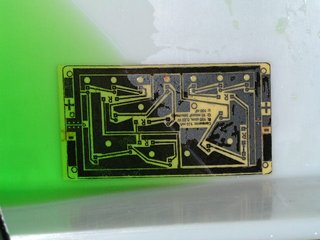
There will be some parts in which the ink hasn't been transferred correctly. We can fix this problem with a permanent pen:
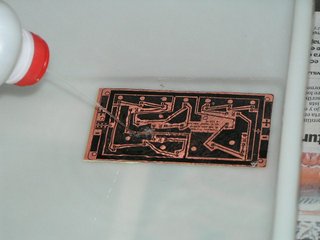
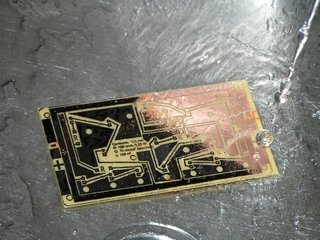
Next step is to put the board in an acid solution (I use a 23% solution of HCl and hydrogen peroxide H2O2) until all the visible copper dissapears. Be carefull with these quimical products. HCl can burn your skin. In addtion, gases produced during the procces are dangerous too. Do this work in a well ventilated place. I start with a little quantity of HCl, enough to cover the piece, and then add H2O2 until the process starts. You can see it in the pictures:

Then we wash the board with water and take out the ink with a scrubber or using acetone:
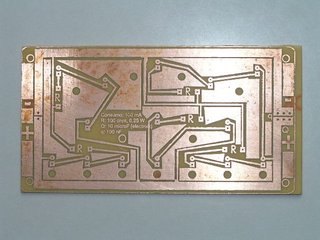
Last step is to drill all the required holes.
Last edition: 25.09.2017
![]()
![]()